
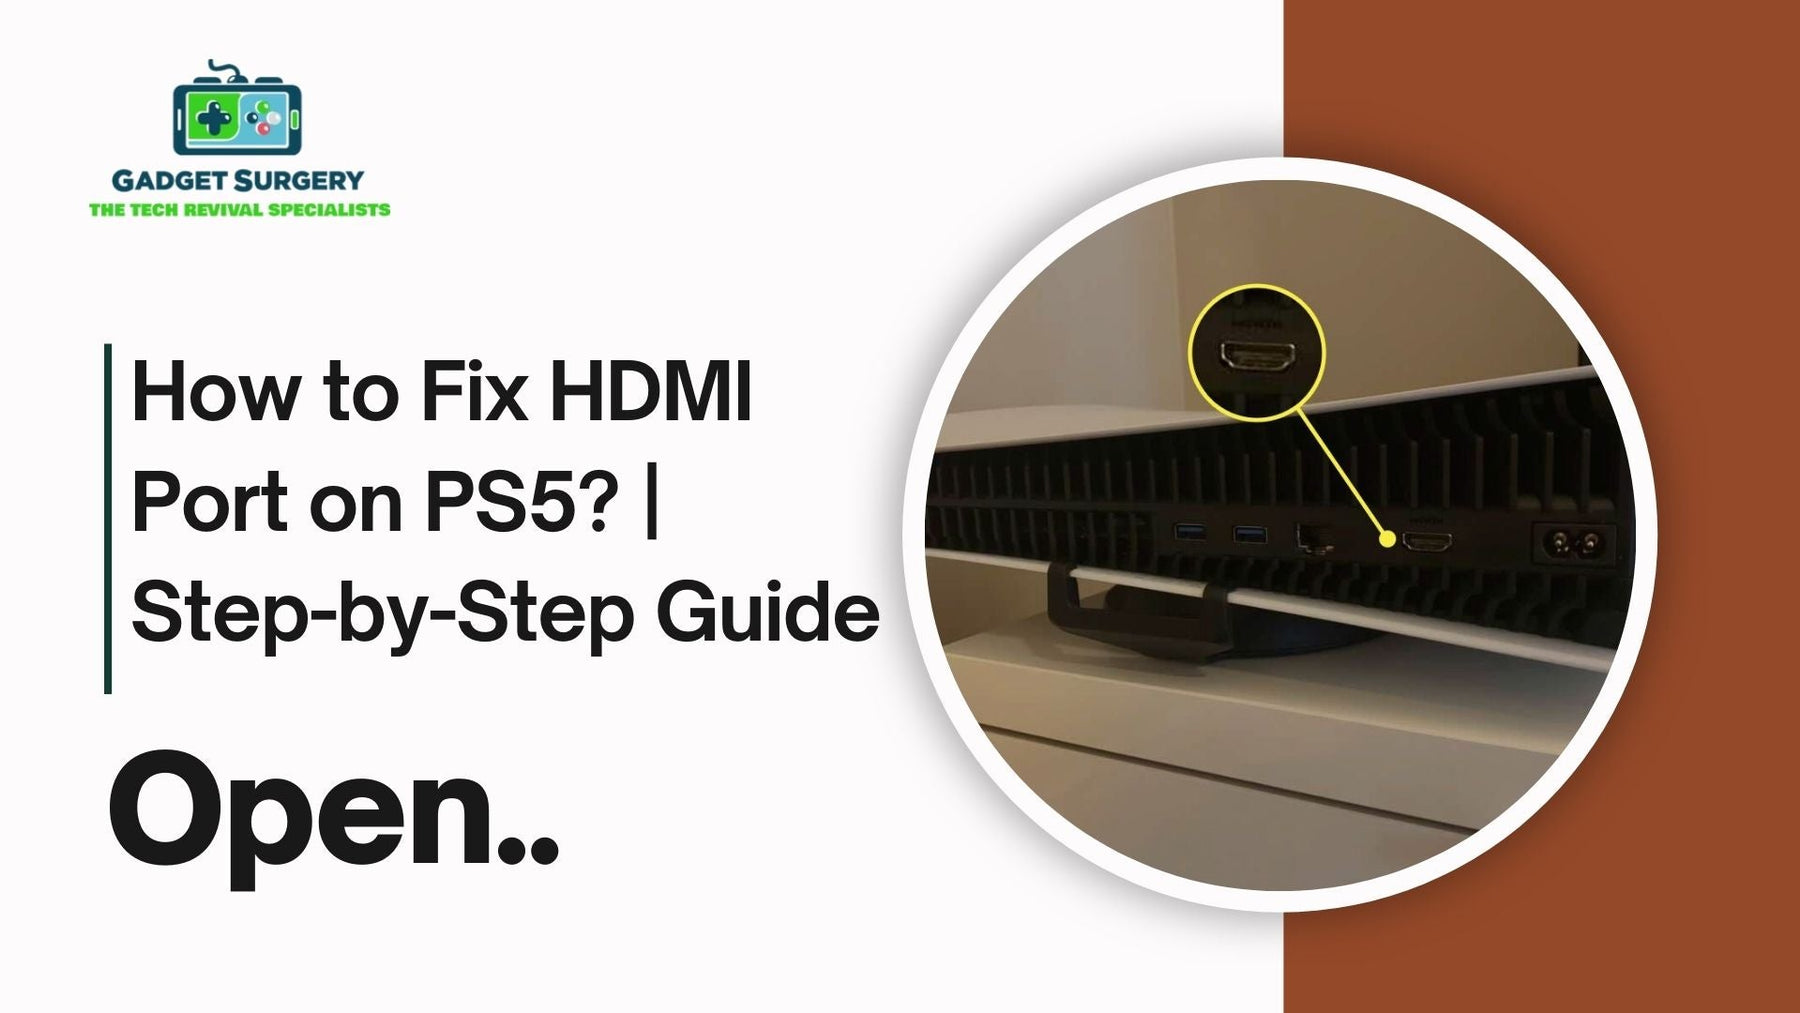
How to Fix HDMI Port on PS5? | Step-by-Step Guide
If you’ve ever powered on your PlayStation 5 and been greeted by a stubborn black screen ans wondered How to Fix HDMI Port on PS5?, you already know how infuriating a faulty HDMI port can be.
It’s one of the most common issues we see at Gadget Surgery, and it’s usually the one that makes gamers panic the most. No video signal means no gaming, no Netflix, no nothing.
The problem is, an HDMI port isn’t just a simple plug you can wiggle back into shape. On the PS5, it’s soldered directly to the motherboard, with dozens of tiny pins that need to be perfectly aligned. That means if it’s damaged, you’re either looking at a precision repair job or a complete replacement.
We’ve repaired enough of these to know the exact steps—and the pitfalls—to watch out for. So, here’s a comprehensive, no-nonsense breakdown of How to Fix HDMI Port on PS5?, why it fails in the first place, and why, in many cases, it’s best to leave it to people who’ve done it hundreds of times before.
Spotting the Signs of a Bad HDMI Port
Before blaming the HDMI port, rule out the obvious. Swap the HDMI cable for another one you know works. Try a different TV or monitor. If you’ve done all that and you’re still staring at a blank display, here are the classic red flags we look for in the workshop:
-
No image at all but the console powers on.
-
A distorted, snowy, or glitchy screen that gets worse when you touch the cable.
-
Signal cutting in and out when you move the cable slightly.
-
A port that feels loose or visibly has bent/broken pins inside.
-
The dreaded “No Signal” message even with a perfect cable.
If one or more of those sound familiar, you’re likely dealing with a failing or damaged port.
Why PS5 HDMI Ports Break
It’s surprisingly easy to damage an HDMI port—especially if the console is in a spot where cables get knocked or tugged. When we ask How to Fix HDMI Port on PS5? first we need to know what usually causes the damage:
-
Rough handling – Shoving in a cable at the wrong angle or yanking it out quickly.
-
Physical accidents – A console falling or getting bumped while plugged in.
-
Cable strain – Tight cable bends putting constant pressure on the connector.
-
Wear over time – Regular plug-ins and removals wearing down solder joints.
-
Dust and debris – Blocking connections or causing micro-damage when forced in.
Knowing the cause helps prevent a repeat visit to the repair bench later.
What You Need to Replace an HDMI Port
Attempting this repair at home isn’t impossible, but let’s be blunt—it’s not a beginner-friendly job. The pins are microscopic, the soldering is delicate, and overheating the board can cause permanent damage. But for those with steady hands and the right gear, here’s the basic toolkit:
-
Precision screwdrivers (Torx security bits for PS5 screws)
-
Anti-static wrist strap to protect delicate circuits
-
A quality soldering iron with a fine tip
-
Hot air rework station for removing the old port cleanly
-
Flux paste for smooth, strong solder joints
-
99% isopropyl alcohol for cleaning
-
PS5-compatible replacement HDMI port
-
Magnifying glass or microscope to inspect your work
-
Plastic prying tools to avoid scratching internal components
At Gadget Surgery, we use industrial-grade soldering stations and optical magnification to make sure every pin is seated exactly where it should be.
How to Fix HDMI Port on PS5? – Step by Step
This is the method we follow in the workshop. It’s detailed for a reason—missing a single step can mean a failed repair.
1. Power Down and Prepare
Unplug everything. Put the PS5 on a clear, well-lit workbench. Put on your anti-static strap—electrostatic discharge can silently kill components without you knowing.
2. Strip It Down
Remove the faceplates gently. Unscrew the fan and take out the power supply. Keep track of each screw—they’re not all the same length. Continue disassembling until the motherboard is in full view.
3. Inspect the HDMI Port
The port sits at the rear of the board. Check it closely—sometimes the damage is obvious, sometimes it’s subtle hairline fractures or slightly bent pins.
4. Remove the Damaged Port
Add a little flux to the solder points. Use the hot air station to heat the joints evenly until the solder melts. Lift the port carefully—too much force can rip the pads clean off the board.
5. Clean the Pads
Once the port is gone, use a desoldering braid to wick away old solder. Wipe the area with isopropyl alcohol to make sure it’s spotless before the new port goes in.
6. Fit the New Port
Align the replacement port exactly with the board’s pads. Anchor it by soldering the large side tabs first. Then, under magnification, solder each tiny pin one by one, making sure there are no bridges or cold joints.
7. Check and Reassemble
Double-check your solder work. Once you’re confident, reassemble the console in reverse order. Make sure every connector clicks firmly into place.
8. Test the Output
Plug it into a known-good TV with a high-quality HDMI cable. If the screen lights up with the PS5 boot logo, you’re good to go.
Why DIY Can Go Wrong
We’ve seen plenty of DIY repairs come to us after things went sideways. Common problems include:
-
Overheating the board and warping components.
-
Damaging the delicate copper pads.
-
Accidentally bridging pins, causing short circuits.
-
Installing ports that are slightly out of alignment, leading to poor connection.
And unfortunately, some of these mistakes can make the console harder—and more expensive—to fix than it would’ve been if it came to us first.
Why We Recommend Professional Repair
At Gadget Surgery, HDMI port replacements are routine work. We’ve got the tools, the experience, and the workflow to make sure it’s done right the first time. Here’s what sets our process apart:
-
Detailed pre-repair diagnostics so we know it’s definitely the HDMI port.
-
High-quality replacement parts designed for the PS5.
-
Repairs performed under a microscope for pinpoint accuracy.
-
Proper static control to protect your motherboard.
-
Quick turnaround times and clear communication from start to finish.
Our goal is simple—get you back in the game with a repair that lasts.
Keeping Your New HDMI Port Safe
Once it’s fixed, treat your HDMI port with care. A few small habits can keep it working for years:
-
Don’t move the console while it’s plugged in.
-
Use flexible, good-quality HDMI cables.
-
Avoid bending the cable sharply near the connector.
-
Give the port a quick blast of compressed air every few months to keep dust out.
How to Fix HDMI Port on PS5 at Home Without Breaking the Bank
If you’ve ever switched on your PlayStation 5 only to be met with a black screen, no sound, and that sinking feeling in your stomach… you’re not alone. A faulty HDMI port is one of the most common issues we see at Gadget Surgery, and it’s the sort of problem that turns a night of gaming into an evening of frustration.
It often starts small—a flicker here, a flash there—until one day, nothing. The cable sits there, snug in its place, but the screen stays stubbornly blank. The good news? You can tackle an HDMI port issue without emptying your wallet, and in some cases, even from home. The catch is: it’s a delicate job.
We’ve repaired enough of these to know what works, what doesn’t, and what ends up costing more than it should. Here’s the full breakdown on How to Fix HDMI Port on PS5?.
Spotting the Warning Signs Before It’s Too Late
Not every display problem means your HDMI port is fried. Sometimes it’s just a tired cable or a TV that’s having a moment. Before you grab the screwdriver, make sure it’s actually the port.
The usual signs we see in the workshop are:
-
No image at all, but the PS5 powers on like nothing’s wrong.
-
Fuzzy or glitchy visuals that shift when you nudge the cable.
-
Signal dropouts—working one second, gone the next.
-
Bent or missing pins inside the HDMI socket.
-
Your TV stubbornly showing “No Signal” no matter what you do.
Test with another cable. Try another TV. If the symptoms stick around, chances are the HDMI port itself is to blame.
Why HDMI Ports Fail on the PS5
It’s not always dramatic. Most of the time, HDMI ports fail quietly. A small knock here, a bit of cable strain there—over months, that’s enough to loosen solder joints or bend pins.
The main culprits we see include:
-
Cable strain – console too far from the TV, cable stretched tight.
-
Accidental knocks – especially when the console’s plugged in and moved.
-
Misaligned insertions – pushing the cable in at an odd angle.
-
General wear and tear – years of connecting and disconnecting cables.
-
Dust and grit – blocking the connection or scratching contacts.
Getting Set Up Without Overspending
If you’re going to attempt this at home, resist the urge to go cheap on tools. The right gear means a smoother repair and less chance of wrecking your console.
You’ll want:
-
Precision screwdriver set (including Torx security bits)
-
Anti-static wrist strap (a single static zap can ruin your board)
-
Fine-tip soldering iron or soldering station
-
Hot air rework station (for loosening the factory solder)
-
Flux paste for clean, strong joints
-
99% isopropyl alcohol for cleaning pads
-
Desoldering braid or pump
-
Replacement HDMI port (PS5-compatible)
-
Magnifying glass or microscope
-
Plastic pry tools to avoid scratching the casing
At Gadget Surgery, we use pro-grade stations and optical magnification. At home, you can work with a well-chosen kit—just avoid bargain-basement tools; they’ll cause more trouble than they’re worth.
Step-by-Step HDMI Port Replacement (DIY)
If you’re going to do it, do it slow and steady. This isn’t a race.
1. Power Down and Clear Your Workspace
Unplug everything. Find a clean, bright surface. Strap on your anti-static wristband—you don’t want an invisible static shock killing your motherboard before you even start.
2. Remove the Outer Panels
Slide off both white faceplates carefully. They can be a bit stiff the first time—don’t force them.
3. Work Down to the Motherboard
-
Remove the fan screws and lift the fan out.
-
Disconnect and remove the power supply.
-
Keep unscrewing and gently removing parts until you’ve got the motherboard exposed.
-
Keep your screws organised; mixing them up during reassembly is a headache you don’t want.
4. Check the Port
At the back of the board, find the HDMI port. Look closely—sometimes the damage is obvious, sometimes you’ll only notice a pin slightly out of line.
5. Remove the Damaged Port
-
Apply flux to loosen things up.
-
Use the hot air station to heat the solder points evenly.
-
When the solder flows, lift the port gently. If it doesn’t lift easily, it’s not ready—forcing it can pull the copper pads right off.
6. Clean the Area
Wick away leftover solder with a braid or pump. Wipe the pads with isopropyl alcohol until they’re shiny and clean.
7. Install the New Port
-
Line it up exactly with the pads.
-
Solder the big anchor tabs first to hold it steady.
-
One by one, solder the tiny pins—no bridges, no cold joints.
8. Inspect Before You Close
Under magnification, check each pin. A single hair-thin solder bridge can kill the output.
9. Put It All Back Together
Reverse the disassembly steps. Every ribbon cable clicks, every screw goes back where it came from.
10. Test It
Hook it up to a TV with a good cable. If the PS5 boots and displays properly, you’re golden.
Mistakes That Cost More to Fix
We get a lot of “I tried to fix it and…” cases. The most common (and costly) mistakes are:
-
Overheating the board and warping it.
-
Lifting copper pads off the board.
-
Misaligned ports that work for a day, then fail again.
-
Tiny solder bridges shorting pins together.
Each one can turn a straightforward job into a much more expensive repair.
When It’s Better to Hand It Over
Not everyone has the time, patience, or kit for micro soldering—and that’s okay. At Gadget Surgery, HDMI port replacements are a daily job. Here’s how we keep costs reasonable while still doing it right:
-
Full pre-repair diagnostics so we know exactly what’s wrong.
-
Only high-quality, compatible ports—no cheap knock-offs.
-
All soldering done under a microscope for precision.
-
Static-safe environment to protect your motherboard.
-
Honest, upfront pricing and quick turnaround.
Keeping Your HDMI Port Alive Longer
Once it’s fixed, you’ll want it to stay that way. A few easy habits will help:
-
Don’t move the console while the cable’s plugged in.
-
Use HDMI cables that are flexible and fit well—no forcing.
-
Keep cables loose enough so they’re not pulling on the port.
-
Clear dust with a quick blast of compressed air now and then.
Get in touch with Gadget Surgery today
Fixing a PS5 HDMI port yourself can be done, but it’s not the kind of job to rush—or to attempt with the wrong tools. Do it carefully, and you can save money. Do it badly, and it’ll cost far more than sending it in from the start.
At Gadget Surgery, we treat every console like our own—thorough checks, careful work, and results you can trust. If your PS5’s HDMI port is giving you trouble and you’d rather avoid the risk, we’re ready to get it sorted quickly, affordably, and properly.
Get in touch with Gadget Surgery today and get your console back on screen where it belongs.
Conclusion
A damaged PS5 HDMI port can be a showstopper, but it’s far from the end of your console’s life. With the right tools and skills, it can be restored to perfect working order. And if you’d rather skip the stress of How to Fix HDMI Port on PS5? (and the risk of doing more harm than good), we’re here for you.
At Gadget Surgery, we handle every console like it’s our own—thorough diagnostics, careful repairs, and reliable results. If your PS5 has lost its signal, let us get it back on screen where it belongs.
Get in touch today, and we’ll have your console back in action before you know it.